
Install water pipes yourself – affordable PPR piping system
Posted on Jan 16, 2026
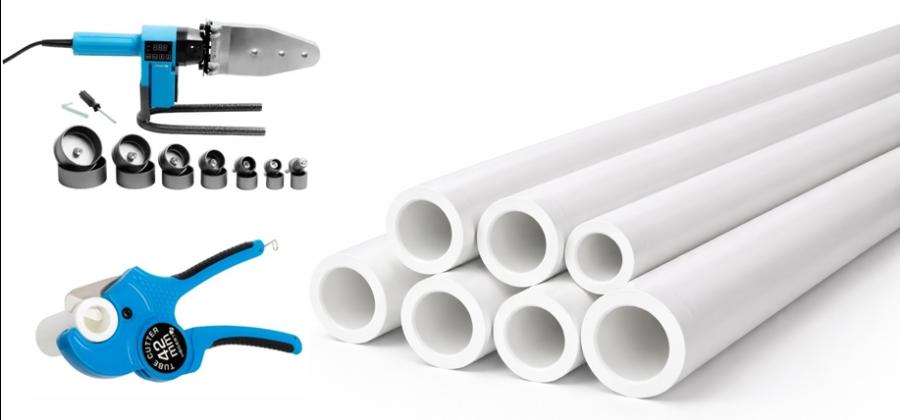
Looking for an affordable piping system that you can install yourself? Our PPR piping system is the right solution for you! Fast, easy, affordable and suitable for installation by any capable DIYer.
Installing water pipes yourself with a PPR piping system is comparatively easy with careful planning and the right tools. The white AquaPlus PPR system combines 2 m pipes with matching fittings and accessories in diameters of 20, 25, 32 and 40 mm.
In this blog, we show you how to select the right pipe size, which tools you need for installation, what advantages PPR offers and how to connect pipes and fittings step by step.
The AquaPlus PPR piping system at a glance
The AquaPlus piping system consists of white PPR pipes and matching fittings. This makes it possible to create pipe runs with a consistent appearance, which can be particularly beneficial for visible installations.
- Coordinated system: Pipes, elbows, T-pieces, sockets, reducers and adapters are designed to work together.
- Four pipe sizes: The system is available in Ø 20, Ø 25, Ø 32 and Ø 40 mm.
- 2-metre pipes: The pipe lengths are easy to plan and transport.
- Welded connection: Pipes and fittings are connected using a suitable socket welder.
- Matching accessories: Pipe cutters, pipe clips and other components are available to match the system.
All components can be found in the AquaPlus PPR piping system category.
Choosing the right PPR pipe size
The choice of pipe diameter depends on the individual project. Pipe length, required flow rate, number of outlets and the planned distribution should all be taken into account when sizing the system.
| Diameter | Possible use | Product |
|---|---|---|
| Ø 20 mm | Compact pipe runs and smaller branches | View PPR pipes |
| Ø 25 mm | Medium-sized pipe runs and many general installations | View PPR pipes |
| Ø 32 mm | Supply and distribution lines with several branches | View PPR pipes |
| Ø 40 mm | Larger main and distribution lines | View PPR pipes |
Important: This classification is intended only as a guide. The required pipe size for the specific installation must be determined on the basis of flow rate, pipe length, pressure loss and other requirements.
Which tools are required for PPR pipes?
Only a few tools are required for basic installation of the piping system. A clean square cut and the correct socket welder are particularly important.
| Tool | Task | Matching product |
|---|---|---|
| Socket welder | Heat the pipe and fitting evenly for the connection | Socket welder |
| Pipe cutter | Cut PPR pipes straight and cleanly to length | Pipe cutter up to 42 mm |
| Measuring tool | Measure pipe routes and mark cutting positions | Folding rule or tape measure |
Tip: A clean, square pipe cut makes subsequent joining easier and helps achieve an even welded connection.
Advantages of PPR pipes
PPR is a thermoplastic that can be permanently joined to matching fittings by socket welding. Depending on the application, this offers several practical advantages over metal piping systems.
- Corrosion-free: PPR itself does not rust.
- Smooth inner surfaces: The smooth inside of the pipe promotes an even flow.
- Low thermal conductivity: Plastic conducts heat far less effectively than many metallic materials.
- Low weight: Pipes and fittings are easy to handle.
- Welded connection: Pipe and fitting are welded together without a separate adhesive.
- Consistent appearance: The white system is also suitable for visible pipe installations.
Allow for temperature changes: PPR also changes length as the temperature changes. Pipe routing, fastening points and movement allowances must therefore be planned accordingly.
Typical applications for PPR piping systems
Where a PPR piping system can be used depends on the specific pipe design and the permitted operating conditions.
- Water pipes: For approved cold- and hot-water installations.
- Technical pipework: For suitable applications in homes, basements or workshops.
- Heating and temperature-control applications: Only within the operating conditions permitted for the respective system.
- Cooling and refrigeration applications: Where the piping system is appropriately designed.
- Other installations: Depending on the medium, temperature, pressure and product approval.
Note: For drinking-water, heating or other technically regulated installations, the relevant product approvals and applicable requirements for planning and installation must be observed.
Connecting PPR pipes step by step
PPR pipes are joined to matching fittings by socket welding. The exact processing temperature as well as heating, joining and cooling times depend on the piping system, diameter and the specifications of the welding device or pipe manufacturer.
- 1. Plan the pipe run: Determine the pipe route, fittings, branches and fastening points in advance.
- 2. Measure the length: Mark the required pipe length while allowing for the insertion depth.
- 3. Cut the pipe: Cut the pipe to length as squarely and cleanly as possible.
- 4. Prepare the connection: Check the pipe end and fitting and keep them free of interfering contamination.
- 5. Heat the pipe and fitting: Heat both parts simultaneously using the appropriate welding attachments.
- 6. Join the parts: After heating, push the pipe and fitting straight together to the specified insertion depth.
- 7. Allow the connection to cool: Do not subject the welded joint to unnecessary stress during the required cooling time.
Do not twist: When joining, the pipe and fitting should be connected straight in accordance with the processing instructions. Incorrect heating, inserting too deeply or twisting can impair the connection.
Safety: Socket welders reach high temperatures. Do not touch hot welding attachments and use the device on a stable surface and in accordance with the operating instructions.
Matching components and tools
A complete PPR piping system requires not only pipes but also matching fittings, fastening elements and the necessary installation tools.
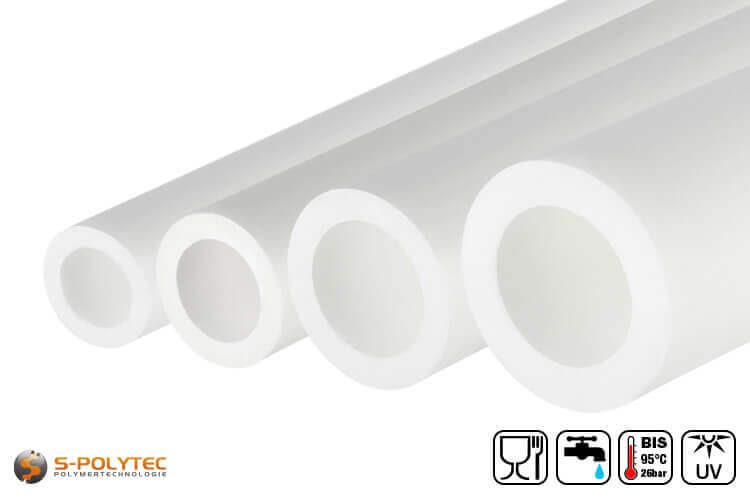
AquaPlus PPR piping system
White PPR pipes, fittings and accessories in diameters of 20, 25, 32 and 40 mm.
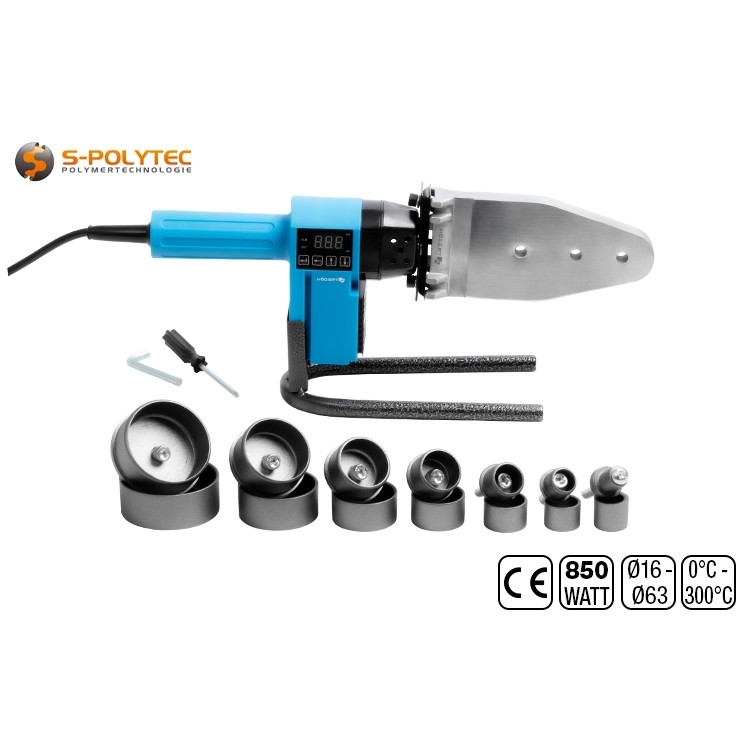
Socket welder
For heating and welding PPR pipes to the matching fittings.
Additional accessories for installation
- PPR connecting sockets: for straight connections between two pipe sections.
- PPR pipe clips: for fastening and guiding the pipework.
- Pipe cutter: for straight, clean cuts up to 42 mm.
The complete selection of pipes and fittings can be found in the AquaPlus PPR piping system category.
Frequently asked questions about PPR pipes
How are PPR pipes connected to each other?
PPR pipes are joined to matching fittings by socket welding. The pipe and fitting are heated using suitable welding attachments and then joined in accordance with the processing instructions.
Which tools are required for PPR pipes?
Basic equipment includes a suitable socket welder, a pipe cutter and a measuring tool. Depending on the installation, additional tools and aids may be required.
Which PPR pipe size is the right one?
The required pipe size depends on factors including the required flow rate, pipe length, pressure loss and system design. There is therefore no single pipe size suitable for every installation.
Which sizes are available in the AquaPlus PPR piping system?
The AquaPlus system shown includes pipes and matching components in diameters of 20, 25, 32 and 40 mm.
Do PPR pipes need to be glued?
No. The matching PPR pipes and fittings in this system are connected by socket welding and do not require a separate pipe adhesive.
Does the thermal expansion of PPR need to be considered?
Yes. PPR changes length as temperatures change. Pipe routing and fastening must therefore be planned so that the expected change in length is taken into account.
Can you install PPR pipes yourself?
Cutting and socket welding can be learned with the right tools. For installations subject to technical, hygiene or legal requirements, however, the relevant regulations and, where necessary, professional installation by qualified personnel must be taken into account.