
Drilling acrylic glass: clean holes without cracks or chipping
Posted on Jul 27, 2026
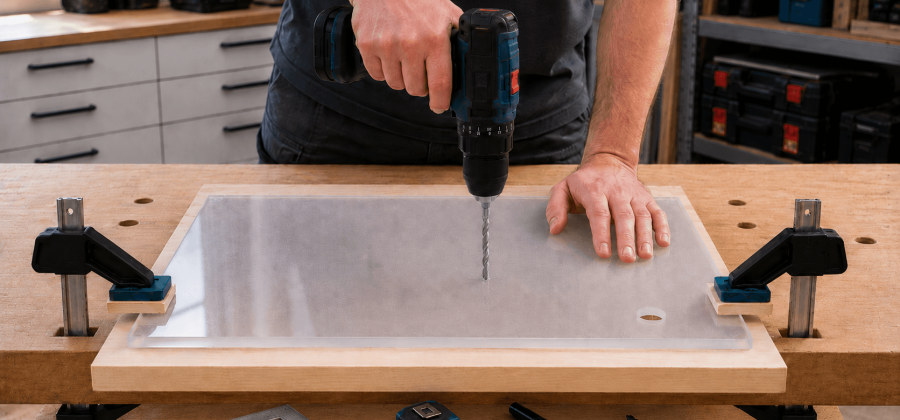
Which drill bit is suitable for acrylic glass, and how can you prevent cracks, chipping or melted hole edges? This blog explains preparation, drilling and installation step by step.
Drilling acrylic glass works well with a sharp drill bit, stable support and controlled feed. Because acrylic glass, technically known as PMMA, is hard and relatively brittle, unsuitable tools, excessive pressure or a vibrating sheet can quickly cause chipping, cracks or melted edges around the hole.
In this blog, we explain step by step how to drill acrylic glass correctly. You will learn which drill bit is suitable, why the sheet should be fully supported at the drilling point, and what to consider regarding speed, chip removal, cleaning and subsequent screw fixing.
Which drill bit is suitable for acrylic glass?
Acrylic glass can be machined with a cordless drill, a power drill or a pillar drill. The drill bit used is particularly important. Its cutting edges must be sharp and remove the material cleanly instead of displacing it with excessive pressure.
Drill bits whose tip and cutting geometry are designed for plastics are especially suitable. The HSS-G plastic drill bit type HK is an appropriate choice. This profile-ground twist drill to DIN 338 was developed specifically for plastics. Its self-centring tip with an 80-degree point angle makes accurate positioning easier and, when used correctly, reduces the risk of chipping and cracks.
- Sharp cutting edges: The bit cuts the material without requiring high pressure on the acrylic sheet.
- Self-centring tip: The marked drilling position can be located precisely.
- Adapted geometry: The bit is less likely to pull aggressively into the sheet as it breaks through.
- Reliable chip removal: The plastic chips produced are carried out of the hole.
- Reduced heat generation: Clean chip removal helps prevent melted edges around the hole.
Is pilot drilling necessary?
With a self-centring plastic drill bit, pilot drilling is unnecessary for many hole diameters. The tip can be placed directly on the marked position. With other types of drill bit or larger openings, however, it may be advisable to enlarge the hole in stages.
For an important component, we recommend making a test hole in an offcut of the same acrylic type and material thickness. This lets you check how the particular combination of drill bit, speed and feed behaves.
Can you drill acrylic glass with a metal drill bit?
In principle, a very sharp HSS metal drill bit can also be used. However, a specially ground plastic drill bit is designed for the brittle material and generally provides more control when starting the hole and when emerging from the sheet.
If you use a standard metal drill bit, the drilling point must be fully supported, the pressure must be low and the feed must be particularly careful as the bit breaks through. Do not use blunt or damaged drill bits.
Important: Always drill acrylic glass without hammer action. The hammering movement can cause cracks and chipping and damage the twist drill bit.
Preparing acrylic glass correctly for drilling
Secure support is at least as important as the drill bit itself. If the acrylic sheet can flex or vibrate, the area around the hole is subjected to unnecessary stress. This can cause the edge of the hole to chip, particularly as the bit exits.
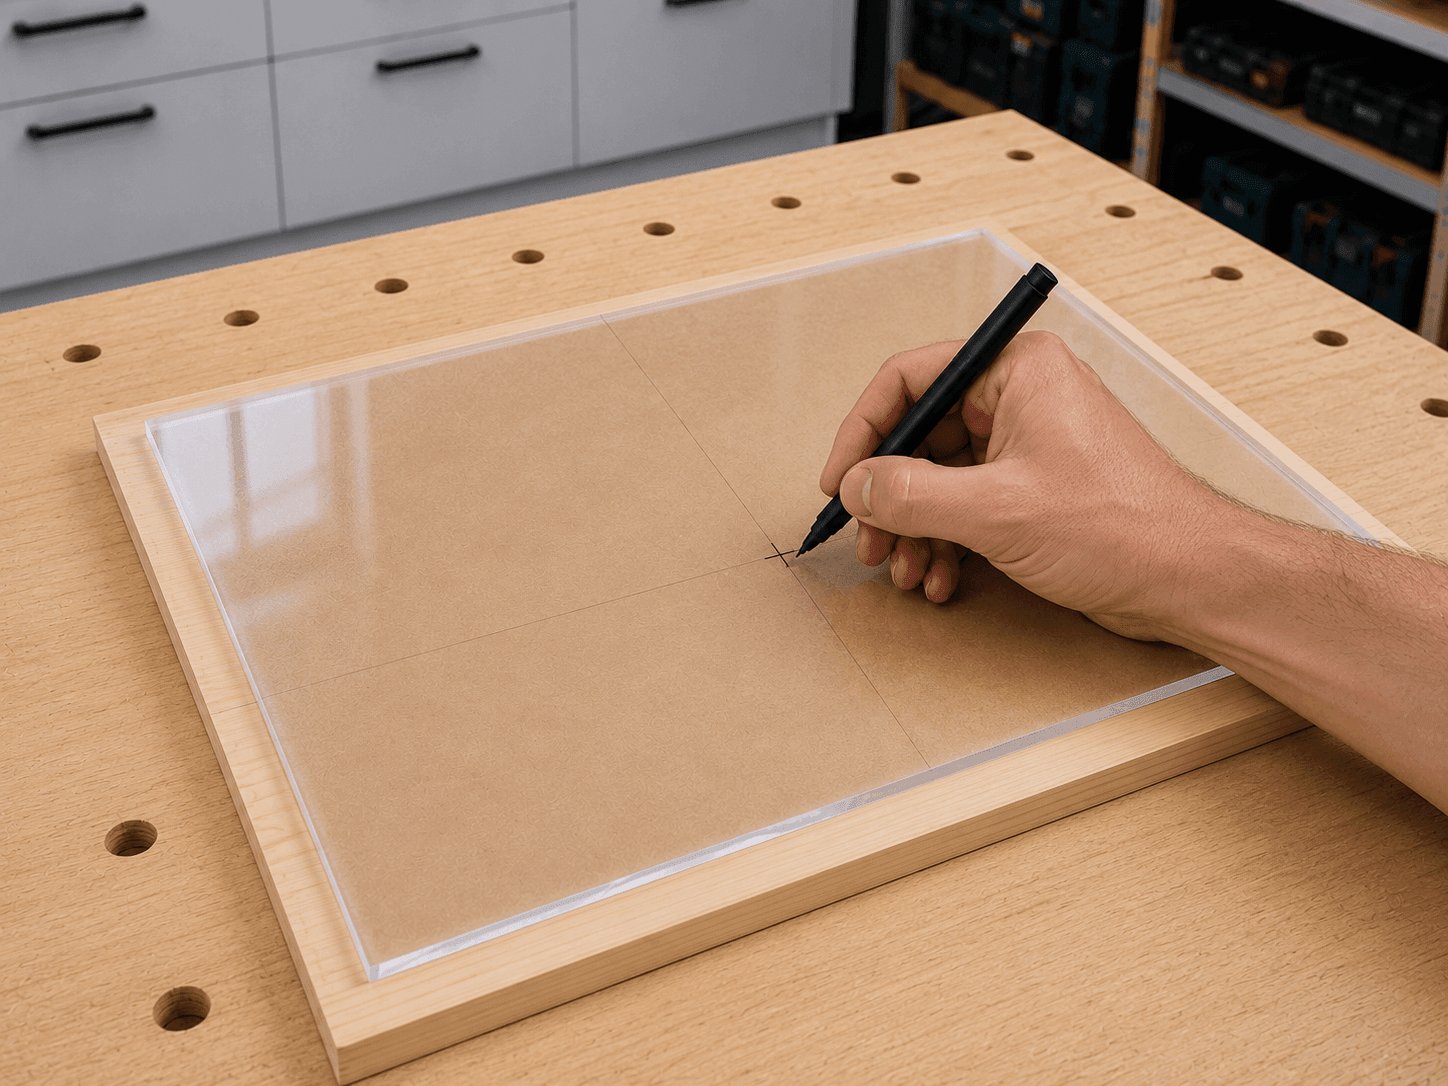
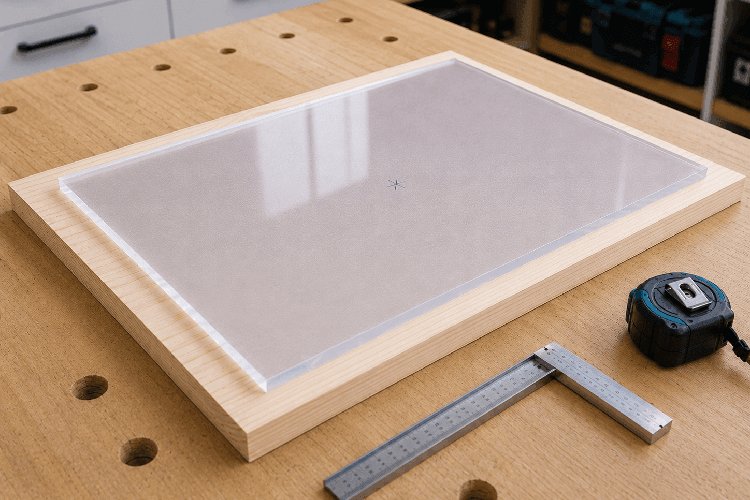
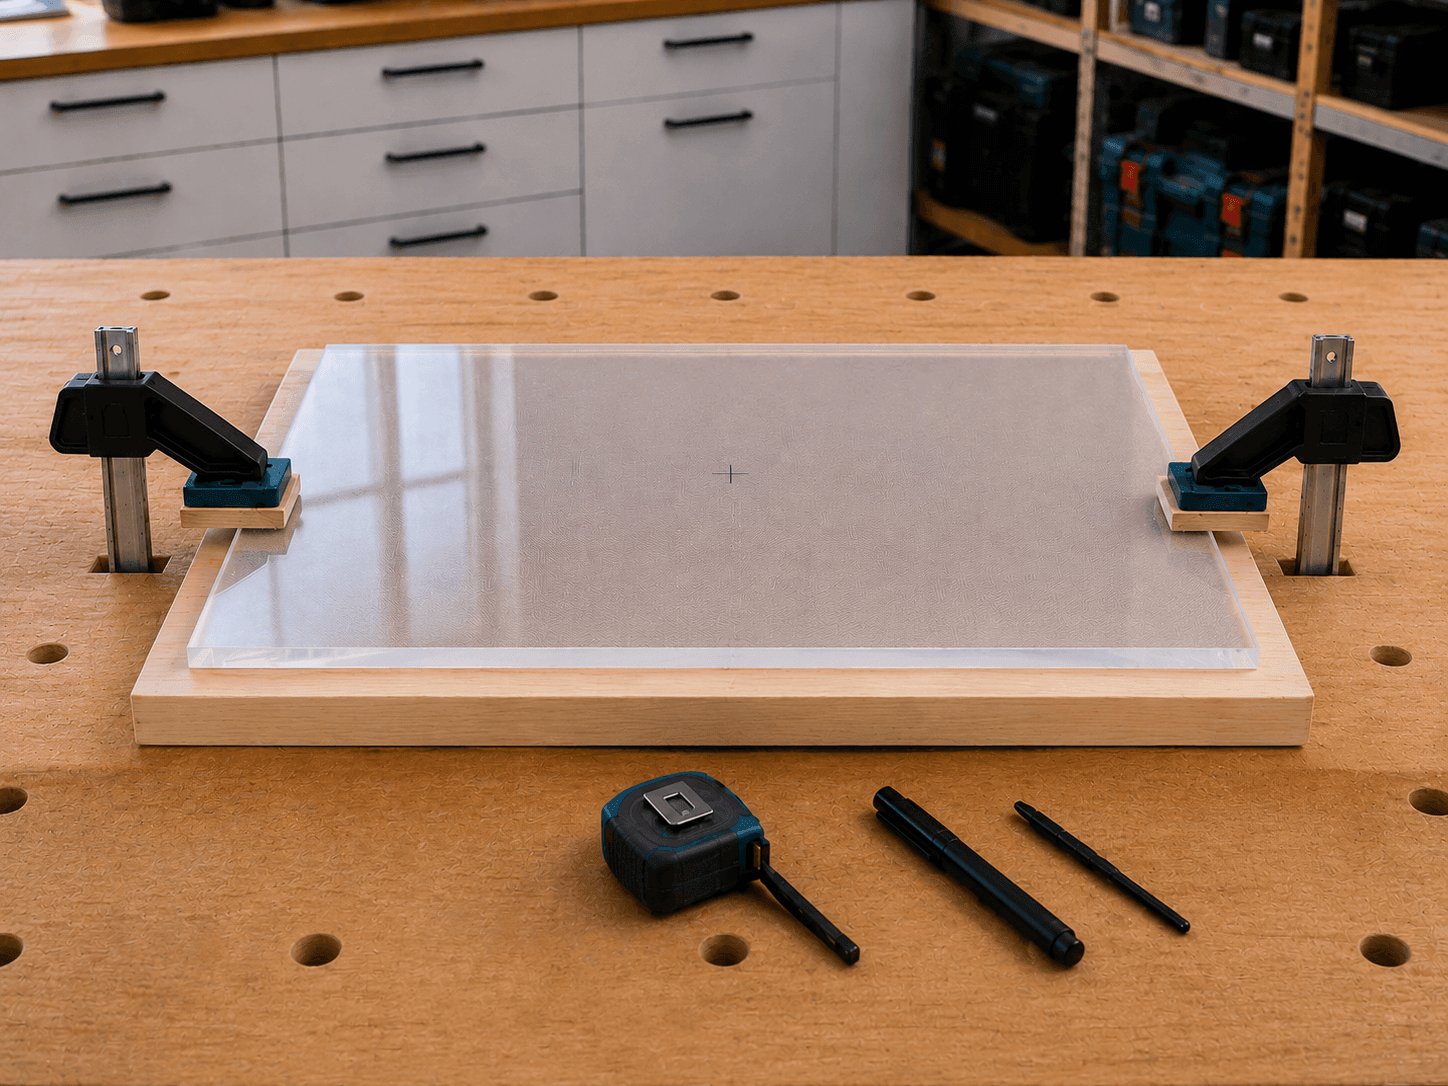
Mark the drilling position on the protective film, fully support the drilling point and secure both the acrylic sheet and sacrificial backing.
Leave the protective film on while drilling
Where possible, leave the protective film on the acrylic glass while marking and drilling. It protects the surface from scratches, tool marks and dirt. The hole position can be marked directly on the film.
If the protective film is damaged or dirt particles are trapped beneath it, inspect the area before clamping and protect it again if necessary. If the film has already been removed, the immediate work area can be covered with suitable adhesive tape. However, tape does not replace stable support or secure clamping.
Use a suitable sacrificial backing board
Fully support the acrylic glass at the drilling point on a flat board made from soft wood or a suitable plastic. As it exits, the bit can continue directly into this sacrificial backing board. This supports the underside of the acrylic and makes it less likely to chip.
Secure the acrylic glass and backing together so that neither part can move or vibrate while drilling. Place a soft protective layer between the clamp and acrylic glass to prevent scratches and pressure marks.
Plan the hole position and edge distance
Holes should not be placed unnecessarily close to a sheet edge or corner. The larger the hole and the greater the subsequent load, the larger the distance to the outer edge should be. There is no single edge-distance rule that applies to every sheet thickness, hole size and construction.
Before drilling, also consider what purpose the hole will serve later. A simple cable feed-through has different requirements from a hole for a screw, spacer or fitting.
How to drill acrylic glass step by step
- 1. Mark the hole position: Mark the centre of the planned hole on the protective film and check its position and edge distance.
- 2. Support the drilling point: Position a flat sacrificial board directly below the drilling point. There must be no unsupported space beneath the planned hole.
- 3. Secure the workpiece: Fasten the acrylic glass and backing so that neither part can move or vibrate.
- 4. Inspect the drill bit: Check the tip and cutting edges for wear, chipping or other damage.
- 5. Position the bit perpendicular: Align the machine vertically and place the tip exactly on the mark.
- 6. Drill steadily: Let the bit cut and avoid excessive pressure.
- 7. Remove chips: For deeper holes, briefly retract the bit if necessary so the plastic chips can escape.
- 8. Reduce the feed: Work particularly carefully as the drill tip approaches the underside.
- 9. Continue into the backing: Guide the drill bit into the sacrificial board in a controlled manner. This keeps the underside of the acrylic supported until the bit has passed through completely.
- 10. Inspect the hole: Check the edge for burrs, chipping, cracks or melted areas.
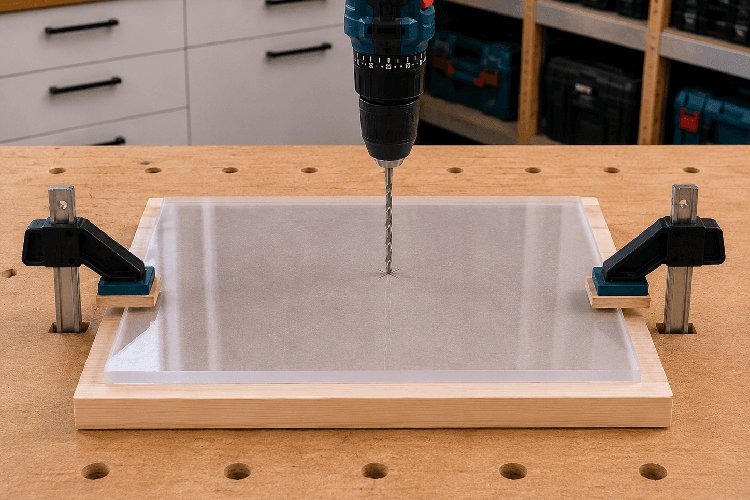
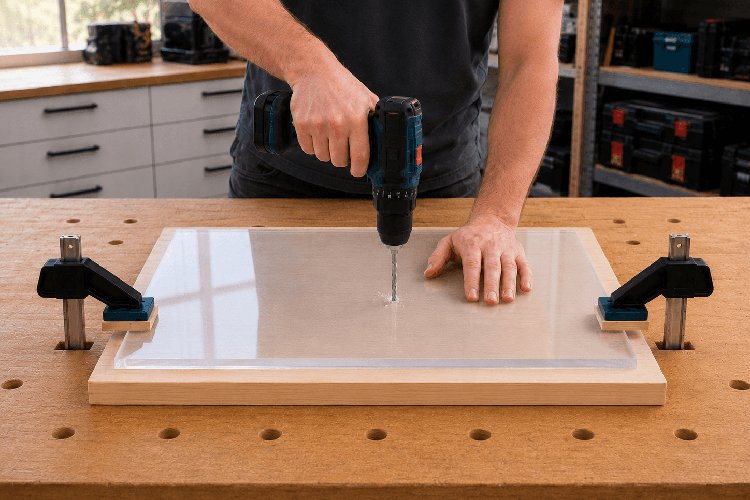
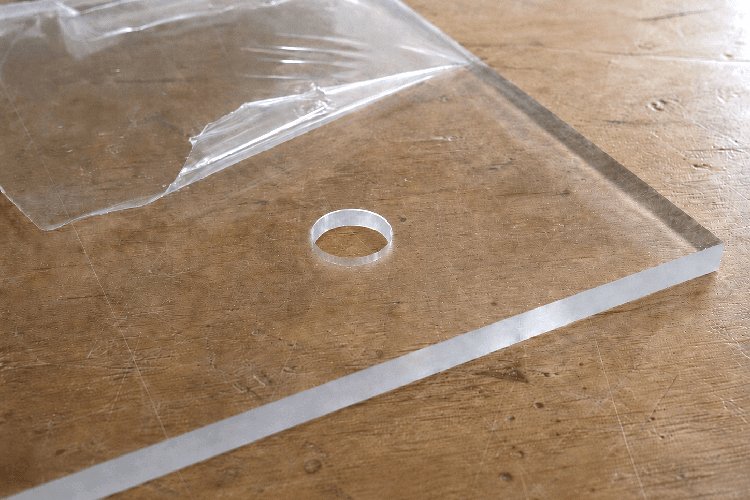
Position the bit perpendicular, guide it through the acrylic without excessive pressure and inspect the finished hole afterwards.
Professional tip: A small amount of soft soap can be used as a lubricant while drilling. It reduces friction and therefore also the heat generated at the drilling point.
Adjusting speed and feed when drilling
No universal speed can be specified for every drill diameter, sheet thickness and machine. Smaller drill bits can generally operate at a higher speed than larger ones. The important point is that the bit cuts the acrylic cleanly and carries the chips reliably out of the hole.
If chips stick to the bit, the drilling point becomes noticeably hot or the hole edge begins to deform, check the speed, feed, chip removal and tool condition. The edge must not become tacky or visibly melt.
Do not apply excessive pressure
High pressure does not automatically make drilling faster. It can cause the bit to pull suddenly into the material as it exits. Hold the machine securely and let the sharp cutting edges do the work.
Remove chips from deeper holes
With thicker sheets, the bit can occasionally be withdrawn carefully from the hole. This allows the chips to escape and dissipates the generated heat more effectively. When drilling resumes, the bit must be guided cleanly back into the existing hole.
Practical tip: If possible, test the speed and feed on an offcut first. This lets you see whether the bit cuts in a controlled manner and reliably removes the chips from the hole.
Drilling large holes in acrylic glass
For larger openings, a larger plastic drill bit or a suitable cone or step drill can be used, depending on the required diameter. This tool must also be sharp and suitable for machining plastics.
As the hole diameter increases, so does the stress around the hole. The acrylic sheet should therefore be fully supported and secured particularly carefully. Use a controlled feed and, if possible, test the tool on an offcut first.
A cone or step drill enlarges the opening gradually. Stop drilling as soon as the required diameter is reached. The same rule applies to large holes: work without hammer action and without excessive pressure.
Finishing the hole and cleaning the acrylic glass
A sharp, profile-ground plastic drill bit usually produces an even hole that requires very little finishing. A light burr can be removed carefully with a suitable deburring tool or very fine abrasive paper. Work without excessive pressure to avoid creating new notches.
Only countersink the hole if this is required for the intended screw. Work particularly carefully to prevent deep notches or additional stress around the hole.
Removing drilling chips and soft-soap residue
First remove coarse chips carefully with plenty of clean water. Do not rub loose particles across the acrylic surface while dry, as they can cause scratches. Residue from the soft soap should also first be rinsed off with clean water.
For subsequent material-friendly cleaning, use S-Polybond PMMAclean acrylic glass cleaner. Use a soft, lint-free cloth, but not a microfibre cloth. After cleaning, wipe the surface without streaks using a clean, soft, lint-free cloth. Avoid abrasive sponges.
The protective film can be removed carefully after all drilling and installation work has been completed.
Screwing acrylic glass correctly after drilling
A cleanly drilled hole does not automatically protect the sheet from subsequent stress cracking. Acrylic glass expands as temperatures rise and contracts again as temperatures fall. If the sheet is rigidly clamped by a close-fitting hole and a tightly fastened screw, this movement can be restricted.
If acrylic glass is to be permanently joined rather than screwed together, different adhesive systems can be used depending on the material combination and joint width. Our blog Bonding acrylic glass correctly explains which adhesives are suitable and what to consider during preparation, fixing and curing.
For screw-fixed acrylic sheets, the hole should therefore be sufficiently larger than the screw diameter. The required movement allowance depends, among other factors, on the sheet size, temperature range, spacing between fixing points and installation situation.
Our blog on the thermal expansion of plastic sheets shows how much a plastic sheet can expand when the temperature changes.
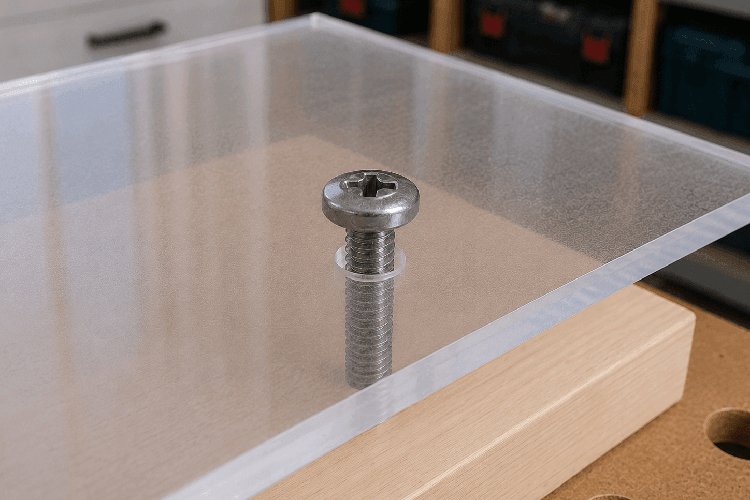
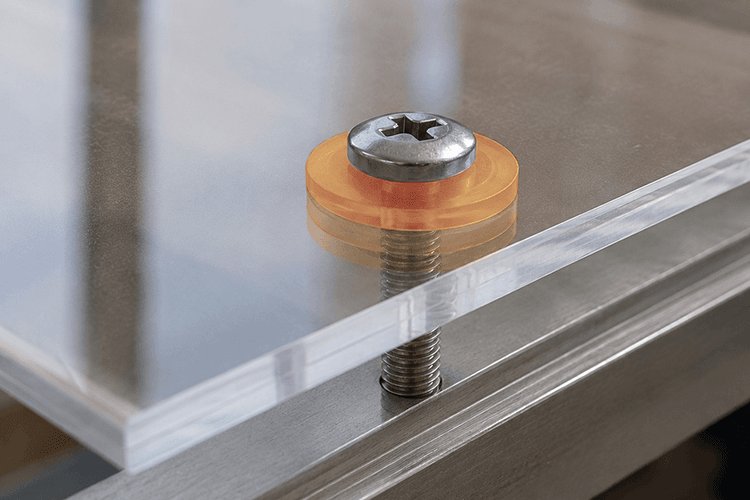
Sufficient movement allowance and a pressure-distributing washer help prevent localised stress at the fixing points.
Tighten the screws only until the sheet is held securely without being clamped or visibly deformed. Suitable flat or sealing washers distribute the pressure across a larger area. The screw head should not press directly against the acrylic glass with high force.
Important: In addition to sufficiently large holes, adequate space must be left at the sheet edges for temperature-related movement.
Drilling transparent, coloured and opal acrylic sheets
The basic drilling technique is the same for the different acrylic variants: the sheet must have stable support, be secured safely and be machined with a sharp, suitable drill bit. The main differences concern how visible the edge of the finished hole will be.
- Transparent XT and GS acrylic glass: Grooves, chipping and melted areas are particularly easy to see. A clean hole edge is therefore also essential for the appearance.
- Opal, coloured and opaque acrylic glass: Light-coloured chips or uneven edges can contrast noticeably with the sheet colour.
- Fluorescent acrylic glass: The luminous edge effect can also highlight the edge of a hole. An even hole with as few grooves as possible therefore looks more professional.
You can find the different versions in our acrylic sheets cut to size category. Our article Acrylic glass and PLEXIGLAS® in detail explains more about PMMA and the well-known PLEXIGLAS® brand name.
For acrylic sheets with an additional surface coating, check the respective manufacturer's instructions before machining. The coating may have different requirements regarding surface protection and finishing.
Common mistakes when drilling acrylic glass
- Blunt or damaged drill bit: It generates more friction, heat and uneven hole edges.
- No backing support: The underside of the sheet may chip as the bit exits.
- Poorly secured sheet: Vibration and flexing put stress on the area around the hole.
- Excessive pressure: The bit can pull suddenly into the material as it exits.
- Unsuitable speed: Excess frictional heat can melt the edge of the hole.
- Hammer action enabled: The hammering movement can damage both the acrylic glass and the drill bit.
- Insufficient edge distance: Cracks can spread from the hole to the edge of the sheet.
- Rigid screw fixing: Insufficient movement allowance can cause stress when temperatures change.
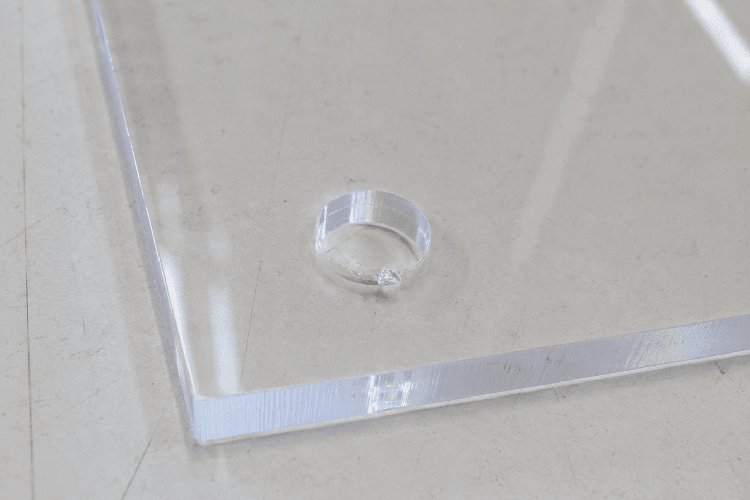
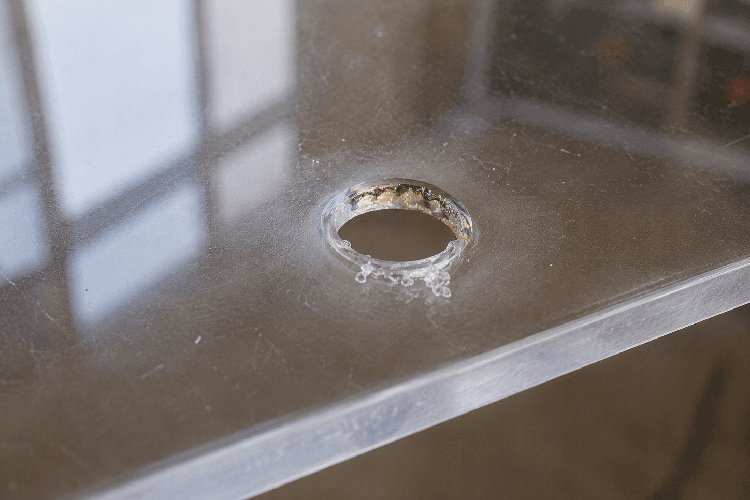
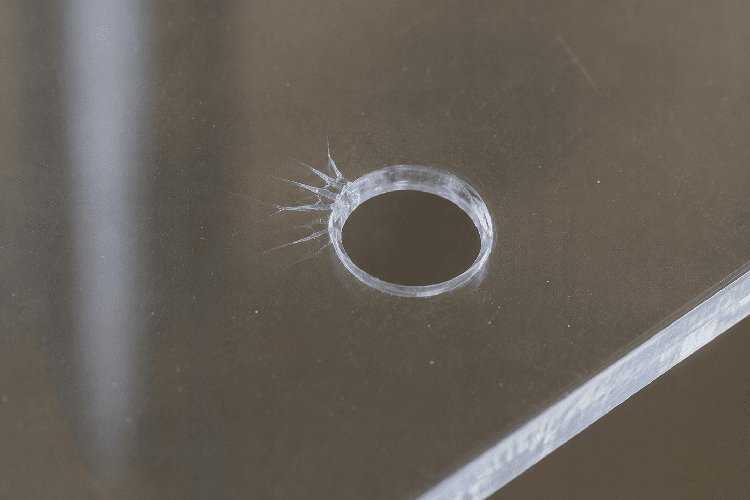
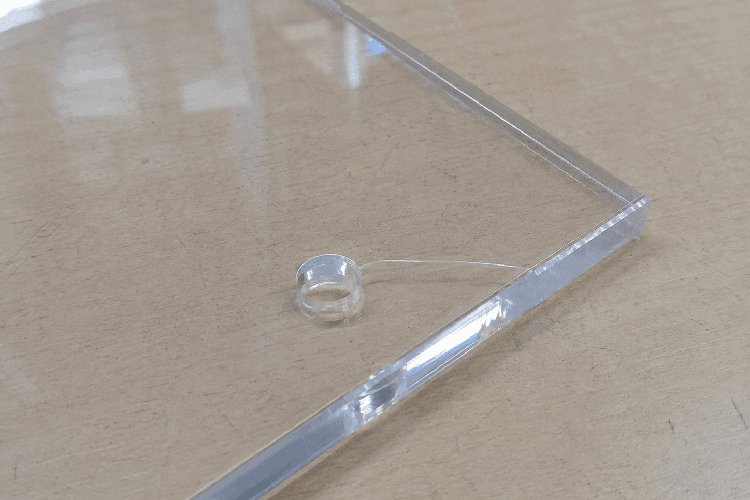
Typical defects include chipped, melted or cracked hole edges.
Drilling acrylic glass correctly: key points at a glance
Clean holes in acrylic glass result from the combination of suitable tools, stable support and controlled machining. A sharp plastic drill bit with an adapted geometry provides particularly good control. The sheet should be fully supported at the drilling point and secured safely together with the sacrificial backing.
Work without hammer action, use a steady feed and avoid excessive pressure. Reduce the feed before the bit exits on the underside and make sure that chips are removed reliably from the hole.
For subsequent installation, sufficiently large holes and low-stress screw fixing are important. Suitable HSS-G plastic drill bits type HK and acrylic sheets cut to size are available directly from our online shop.
Frequently asked questions about drilling acrylic glass
Which drill bit is suitable for acrylic glass?
Sharp plastic drill bits with a geometry designed for brittle plastics are particularly suitable. A profile-ground HSS-G plastic drill bit with a self-centring tip and an 80-degree point angle enables precise and controlled drilling.
Can you drill acrylic glass with a metal drill bit?
In principle, a very sharp HSS metal drill bit can be used. However, a special plastic drill bit is better suited to the brittle material and generally provides more control when starting the hole and when exiting the sheet.
Do you need to pilot-drill acrylic glass?
With a self-centring plastic drill bit, pilot drilling is unnecessary for many diameters. With other types of bit or larger openings, it may be advisable to enlarge the hole in stages.
Should the protective film remain on the sheet while drilling?
Where possible, leave the protective film on the acrylic sheet during marking and drilling. It protects the surface from scratches and dirt and can be removed after machining and installation are complete.
How do you prevent chipping on the underside?
Fully support the acrylic sheet at the drilling point on a flat sacrificial board made from soft wood or plastic. Reduce the feed before the bit reaches the underside and continue drilling into the backing in a controlled manner.
What is the correct speed for drilling acrylic glass?
The appropriate speed depends on the drill diameter, sheet thickness, tool geometry and machine. The important point is that the bit cuts the material cleanly and that the hole edge neither melts nor deforms.
Should the hole be larger than the screw?
For screw-fixed acrylic sheets, the hole should be sufficiently larger than the screw diameter. This allows the sheet to move as temperatures change without being rigidly clamped by the screw.
How do you clean acrylic glass after drilling?
First remove coarse chips and soft-soap residue with plenty of clean water. The surface can then be cleaned with a soft, lint-free cloth and a suitable acrylic glass cleaner. Do not rub loose particles across the surface while dry, and avoid microfibre cloths.